Using Action in Zapier
Here we'll show you how to use Callbell in Zapier as an Action
As an Action
Make you select the right Callbell(latest) app:
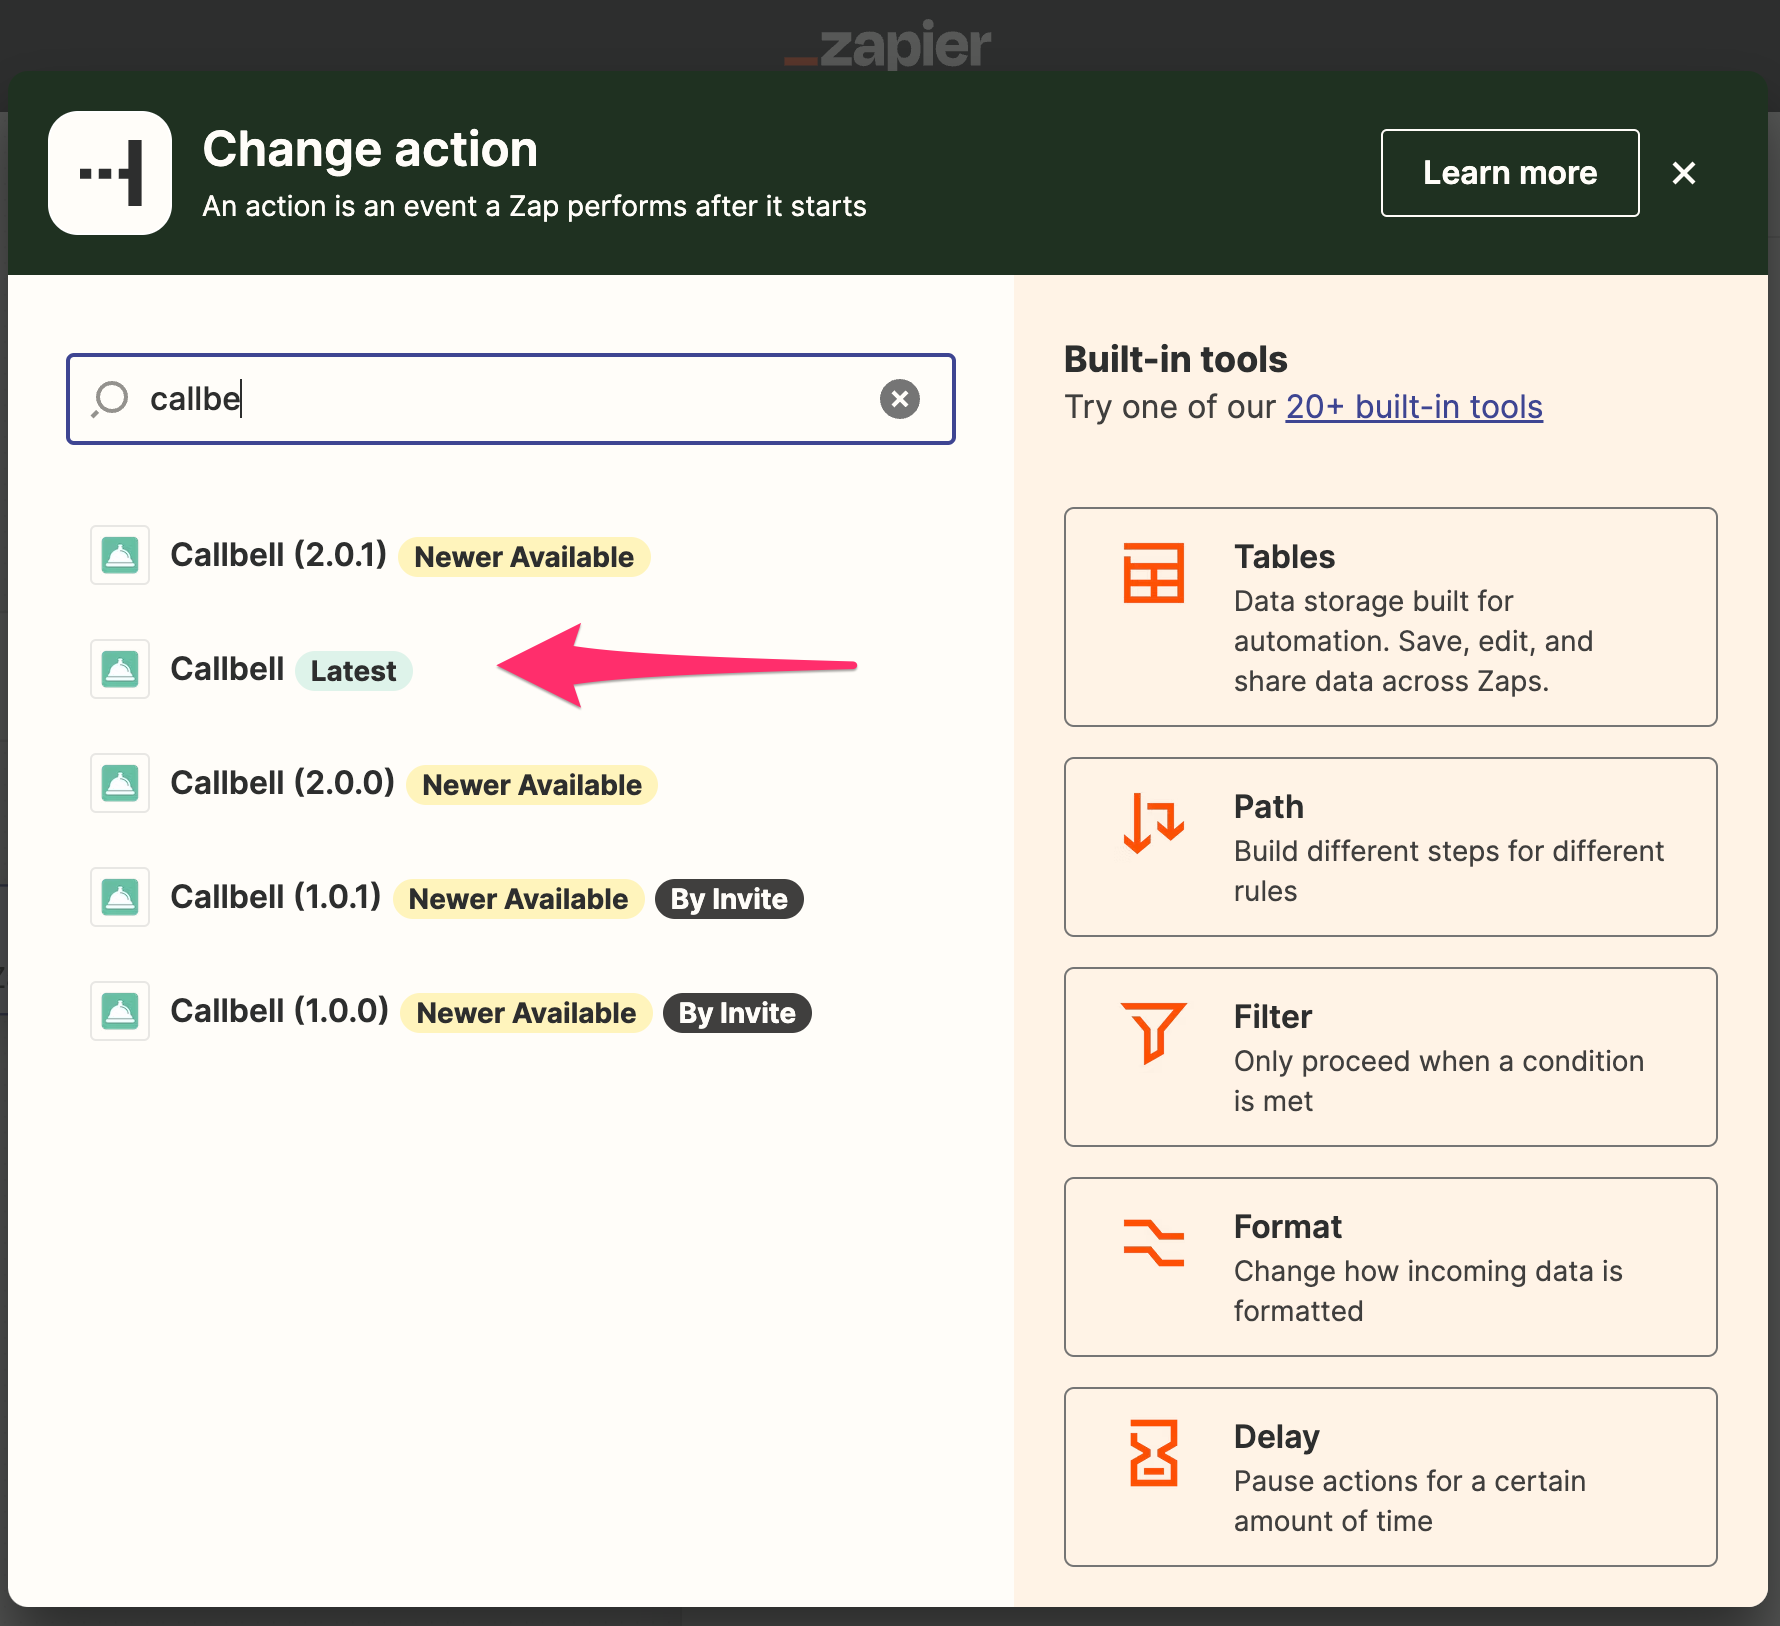
Our callbell integration allows you to use Callbell as an action. This means that you can send data from other apps to Callbell.
Supported Actions
- Create Message (limited to text messages only)
- Create Contact
Create Message
This action will create a new message in Callbell. You can use this action to send data from other apps to Callbell.
Create Contact
This action will create a new contact in Callbell. You can use this action to send data from other apps to Callbell.
Example with Message Created Action
Let's say you want to send a message to a customer when a new order is made on your online store. You can use Zapier to send the data from your online store to Callbell.
Your online store is the Trigger and Callbell is the Action.
Set up your Zap:
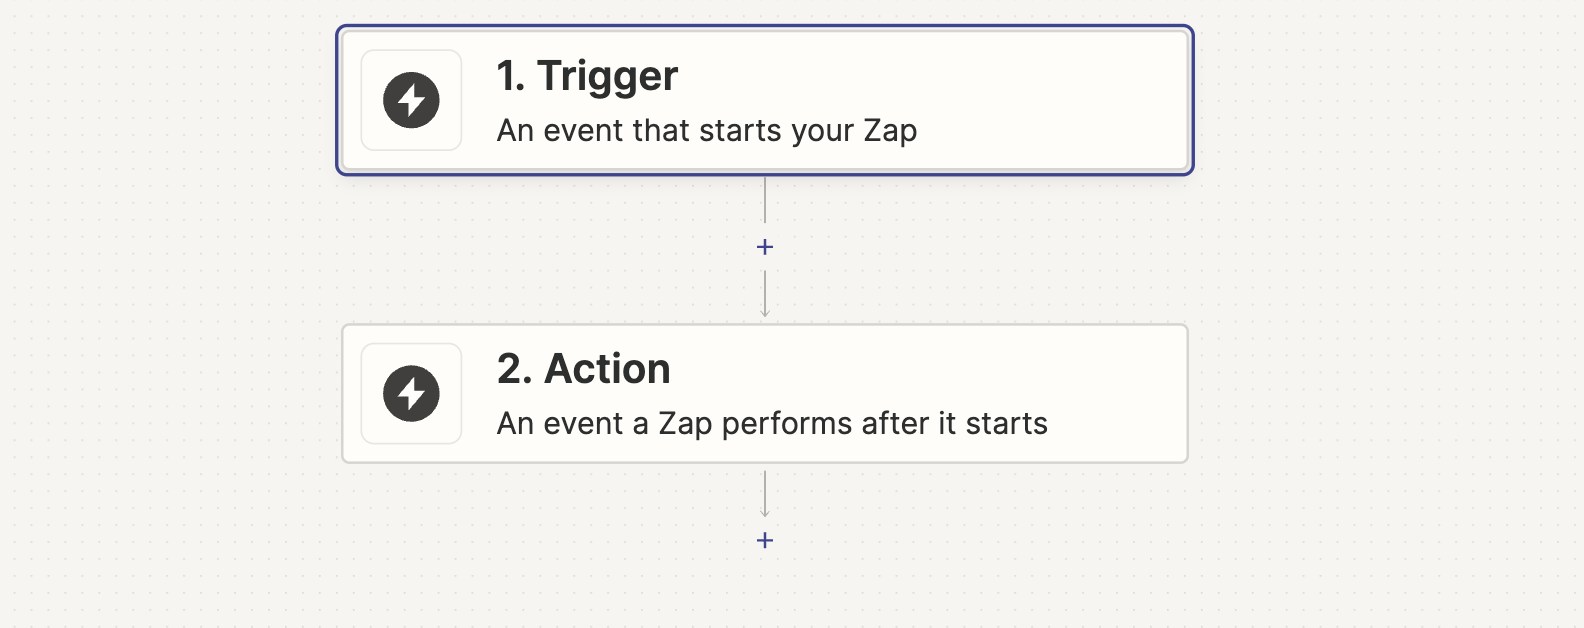
Step 1: Set up your Trigger
In this example, we'll use Shopify as the Trigger.
Select Shopify as the Trigger app:
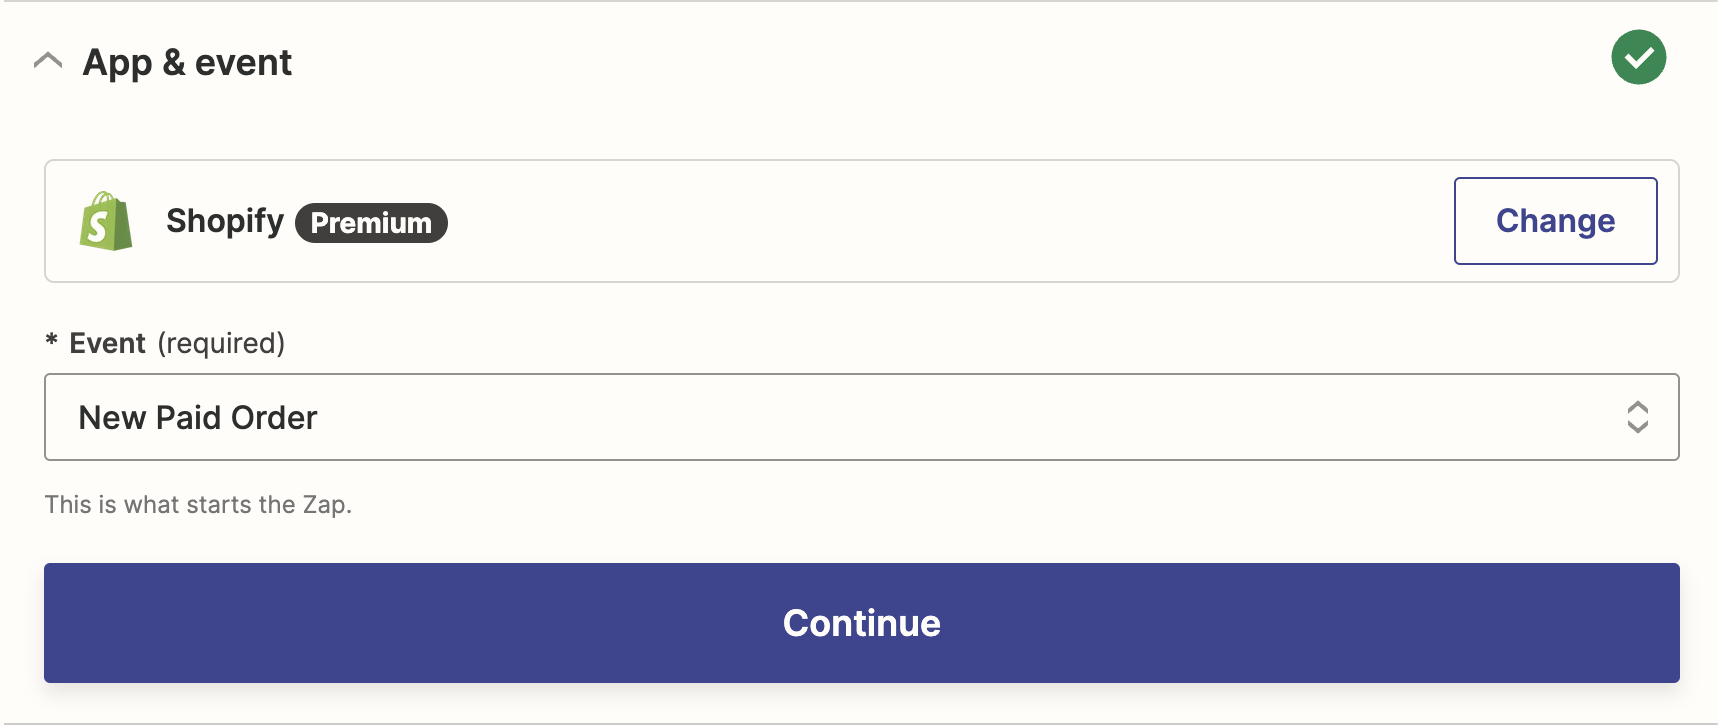
Select the Trigger event:
We'll use the "New Paid Order" event as the Trigger.
Then click "Continue". You'll be asked to connect your Shopify account to Zapier.
Once you've connected your Shopify account, you'll be asked to select the store you want to use.
Then click "Continue".
Step 2: Set up your Action
Select Callbell as the Action app, then select the "Create Message" action.
Then click "Continue". You'll be asked to connect your Callbell account to Zapier.
Once you've connected your Callbell account, you'll have to set up the message.
Select the WhatsApp number you want to use to send the message.
Then select the contact you want to send the message to.
Then set up the message.
You can use the data from the Trigger to set up the message.
For example, you can use the data from the Trigger to set up the message like this:
Hi {{first_name}}, your order {{order_number}} has been confirmed.
Then click "Continue".
Step 3: Test your Zap
You can test your Zap by clicking "Test & Review".
If everything is set up correctly, you'll see a success message.
Then click "Turn on Zap".
Your Zap is now live!